Z LED Frame, or how to illuminate your art with Zephyr - part 1: Intro and prototyping
Winter is the time for long, cozy evenings, catching up with your favorite games, TV series or books and maybe even some snow (looking at you Warsaw 2024 👀). For me it turned out to also be a stimuli to embrace my inner maker/hacker spirit and do more of the stuff that requires soldering/prototyping and, in general, making stuff. Last year’s Hackaday Supercon inspired me not to wait for ages until my skillset is complete and only then attempt to build an opus magnum but rather start now, smaller, gradually building up. Also, I thought that maybe it is worth putting my skills to use in some down-to-earth projects that can have real impact on my everyday life and will stick around for years to come. This is accompanied by mine and other members of Sticky Piston Studios mindset of embracing the technology no matter its branch - see our Sticky Web Platform where we keep on lowering the entry bar of deploying your own websites and services. (shameless marketing 😄)

Thus, after thinking what project would I really like to have around that would be a base for my further reverse-engineering/retro-gaming efforts, I came up with the LED-frame concept that has already had several previous renditions, like Raspberry-Pi Frame, or another similar one. Since in previous attempts some things were left out and, to my knowledge, none of previous efforts utilized Zephyr and less powerful MCUs like ESP32, I decided to share my work on this project here, and maybe on some other social media platforms (not really an avid user of any of them). Of course, all of the project will be shared on my GitHub as I live by the rules of Free Open Source Software (and hardware), in fact I am travelling to this year’s FOSDEM so expect some updates from there too!
Goal and how to get there?
The goal here is quite straightforward - I want to have a physical LED frame that I can hang in my living room that would display static/animated pictures of my choice on a 16x16 pixel grid. As with all ideas, it is too vague so let’s flesh it out then:
- Physical LED frame - meaning that I will have to design it and then either build from regular materials like wood or plastic, or 3D-print it. In my case it will be the latter, but I am not restricting anyone here 😁.
- 16x16 pixel grid - sounds like I need to have either separate pixels or use a LED strip, or even have an entire programmable LED array - I chose the LED strip for its cost and malleability.
- display static/animated pictures of my choice - this means I need a way of communicating with the frame, so it definitely needs to be smart (the question is how smart).
Now that it sounds less like a wish and more like engineering project, let’s address the rest of the requirements that were not voiced anywhere:
- Controller - implied in the design is of course the fact that something needs to drive the LEDs and decide what to display there, in my case it will be ESP32 (tried the new one based on RISC-V, more on that later).
- Power management - since LEDs are powered from 5V voltage source and ESP32 is capable of outputting only 3.3V we need either a logic-level shifter or separate voltage source.
- Data processing - displaying stuff on such a small resolution requires some image pre-processing and we are speaking about embedded devices that might not have the processing power.
- Communication - well, how to interface the Controller? We have mediums/protocols of choice, such as HTTP over Wi-Fi or using BLE for simpler communication.
Steps
Okay, now it seems like we have something tangible. Let me present you the plan to get there - by taking small steps and documenting my progress so people can follow along:
- First, there is this blogpost that introduces the project and the prototype.
- Then, we will have either one or two that dig into the details of setting up a HTTP server on Zephyr, connecting the LEDs and displaying the picture of choice on them.
- We also need to talk about assembly and some hardware stuff, like 3D design and printing (here I am a layman and I might request Szymon’s help.
- Lastly, we should talk about powering it up, having some Li-Po (or other) battery and a charging circuit.
- (there might be changes to the schedule along the way, since we need to design the Frontend for the controlling website, dig around Zephyr, etc.) - but expect a blogpost roughly every 2 weeks!
After the last blogpost we should have a solid base for further experiments and extensions to this project, but I am will not jump ahead and first focus on actually assembling it!
Prototyping
Here I won’t go into very technical details (this will be done in the second blogpost), rather I will focus on why even do prototyping and why not do it The Proper Way(TM). If any of you worked on a big software/hardware (and got forbid a mix of both) engineering project, you probably know that the path from A (conception) to B (the product doing something useful) is loooooooooooong. I think the complexity is logarithmic here (but don’t quote me on that 😁), the more people and components are involved, the more things can go wrong and therefore will go wrong thanks to our old friend - statistics.
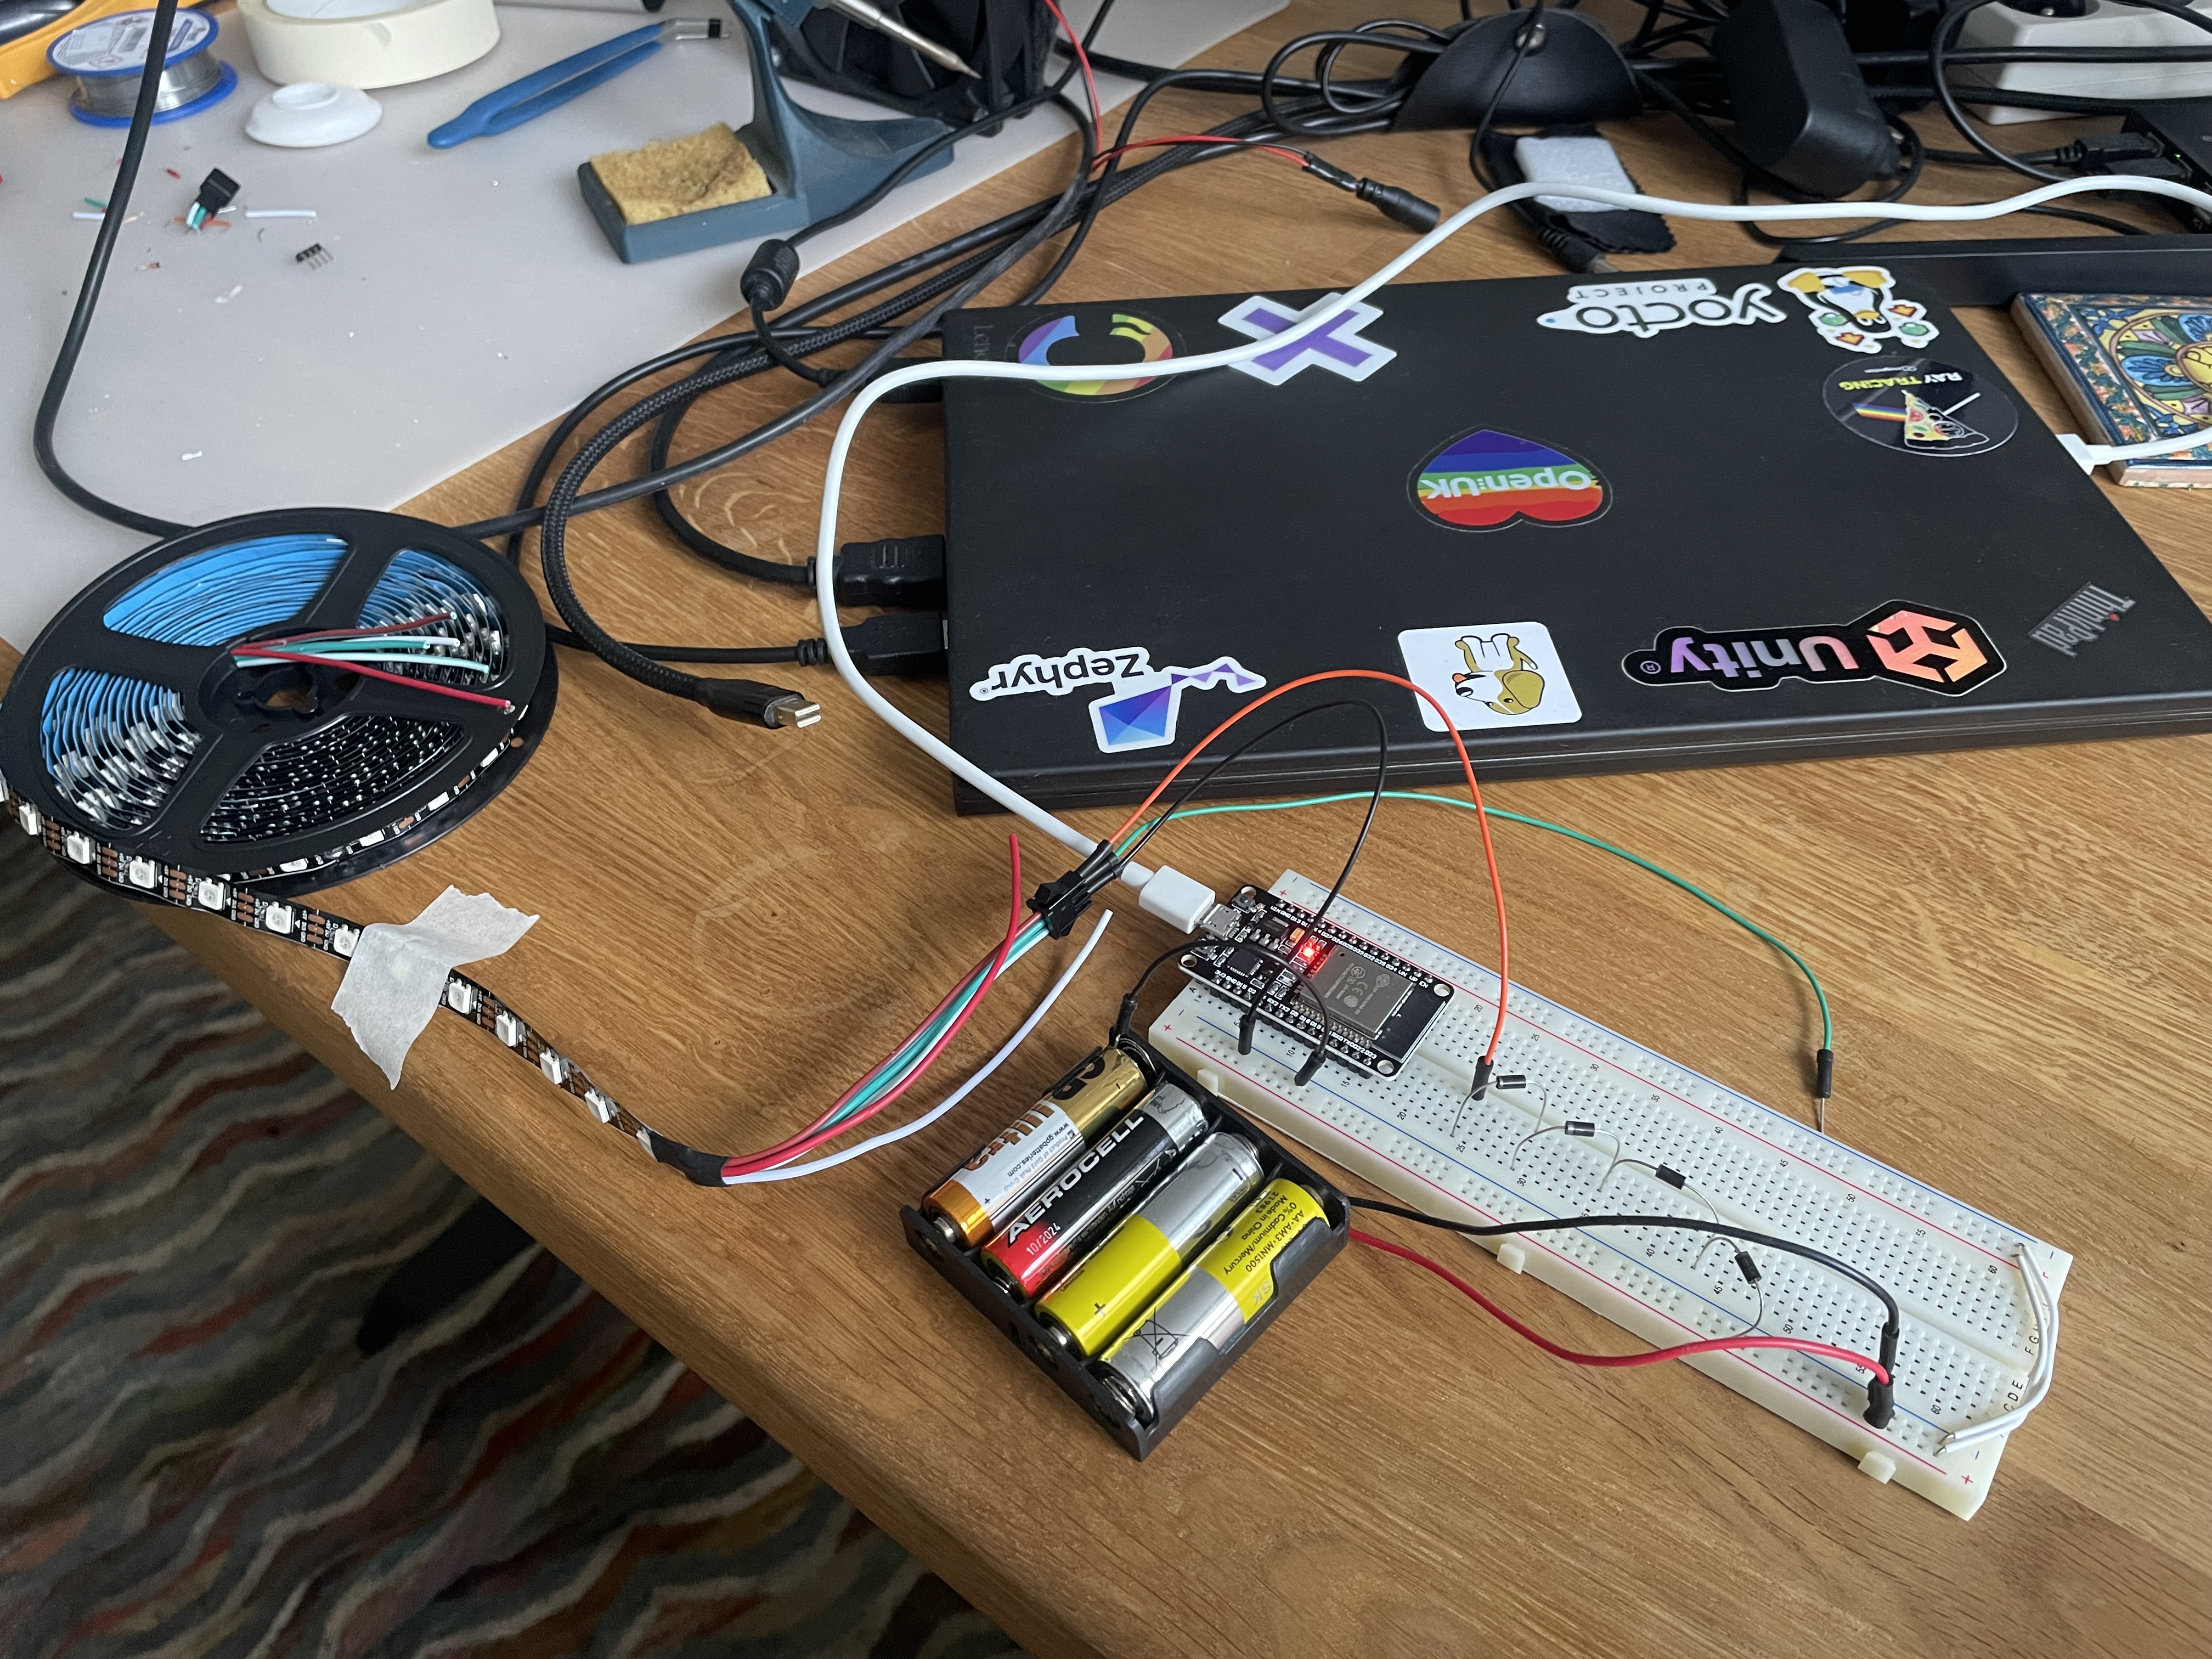
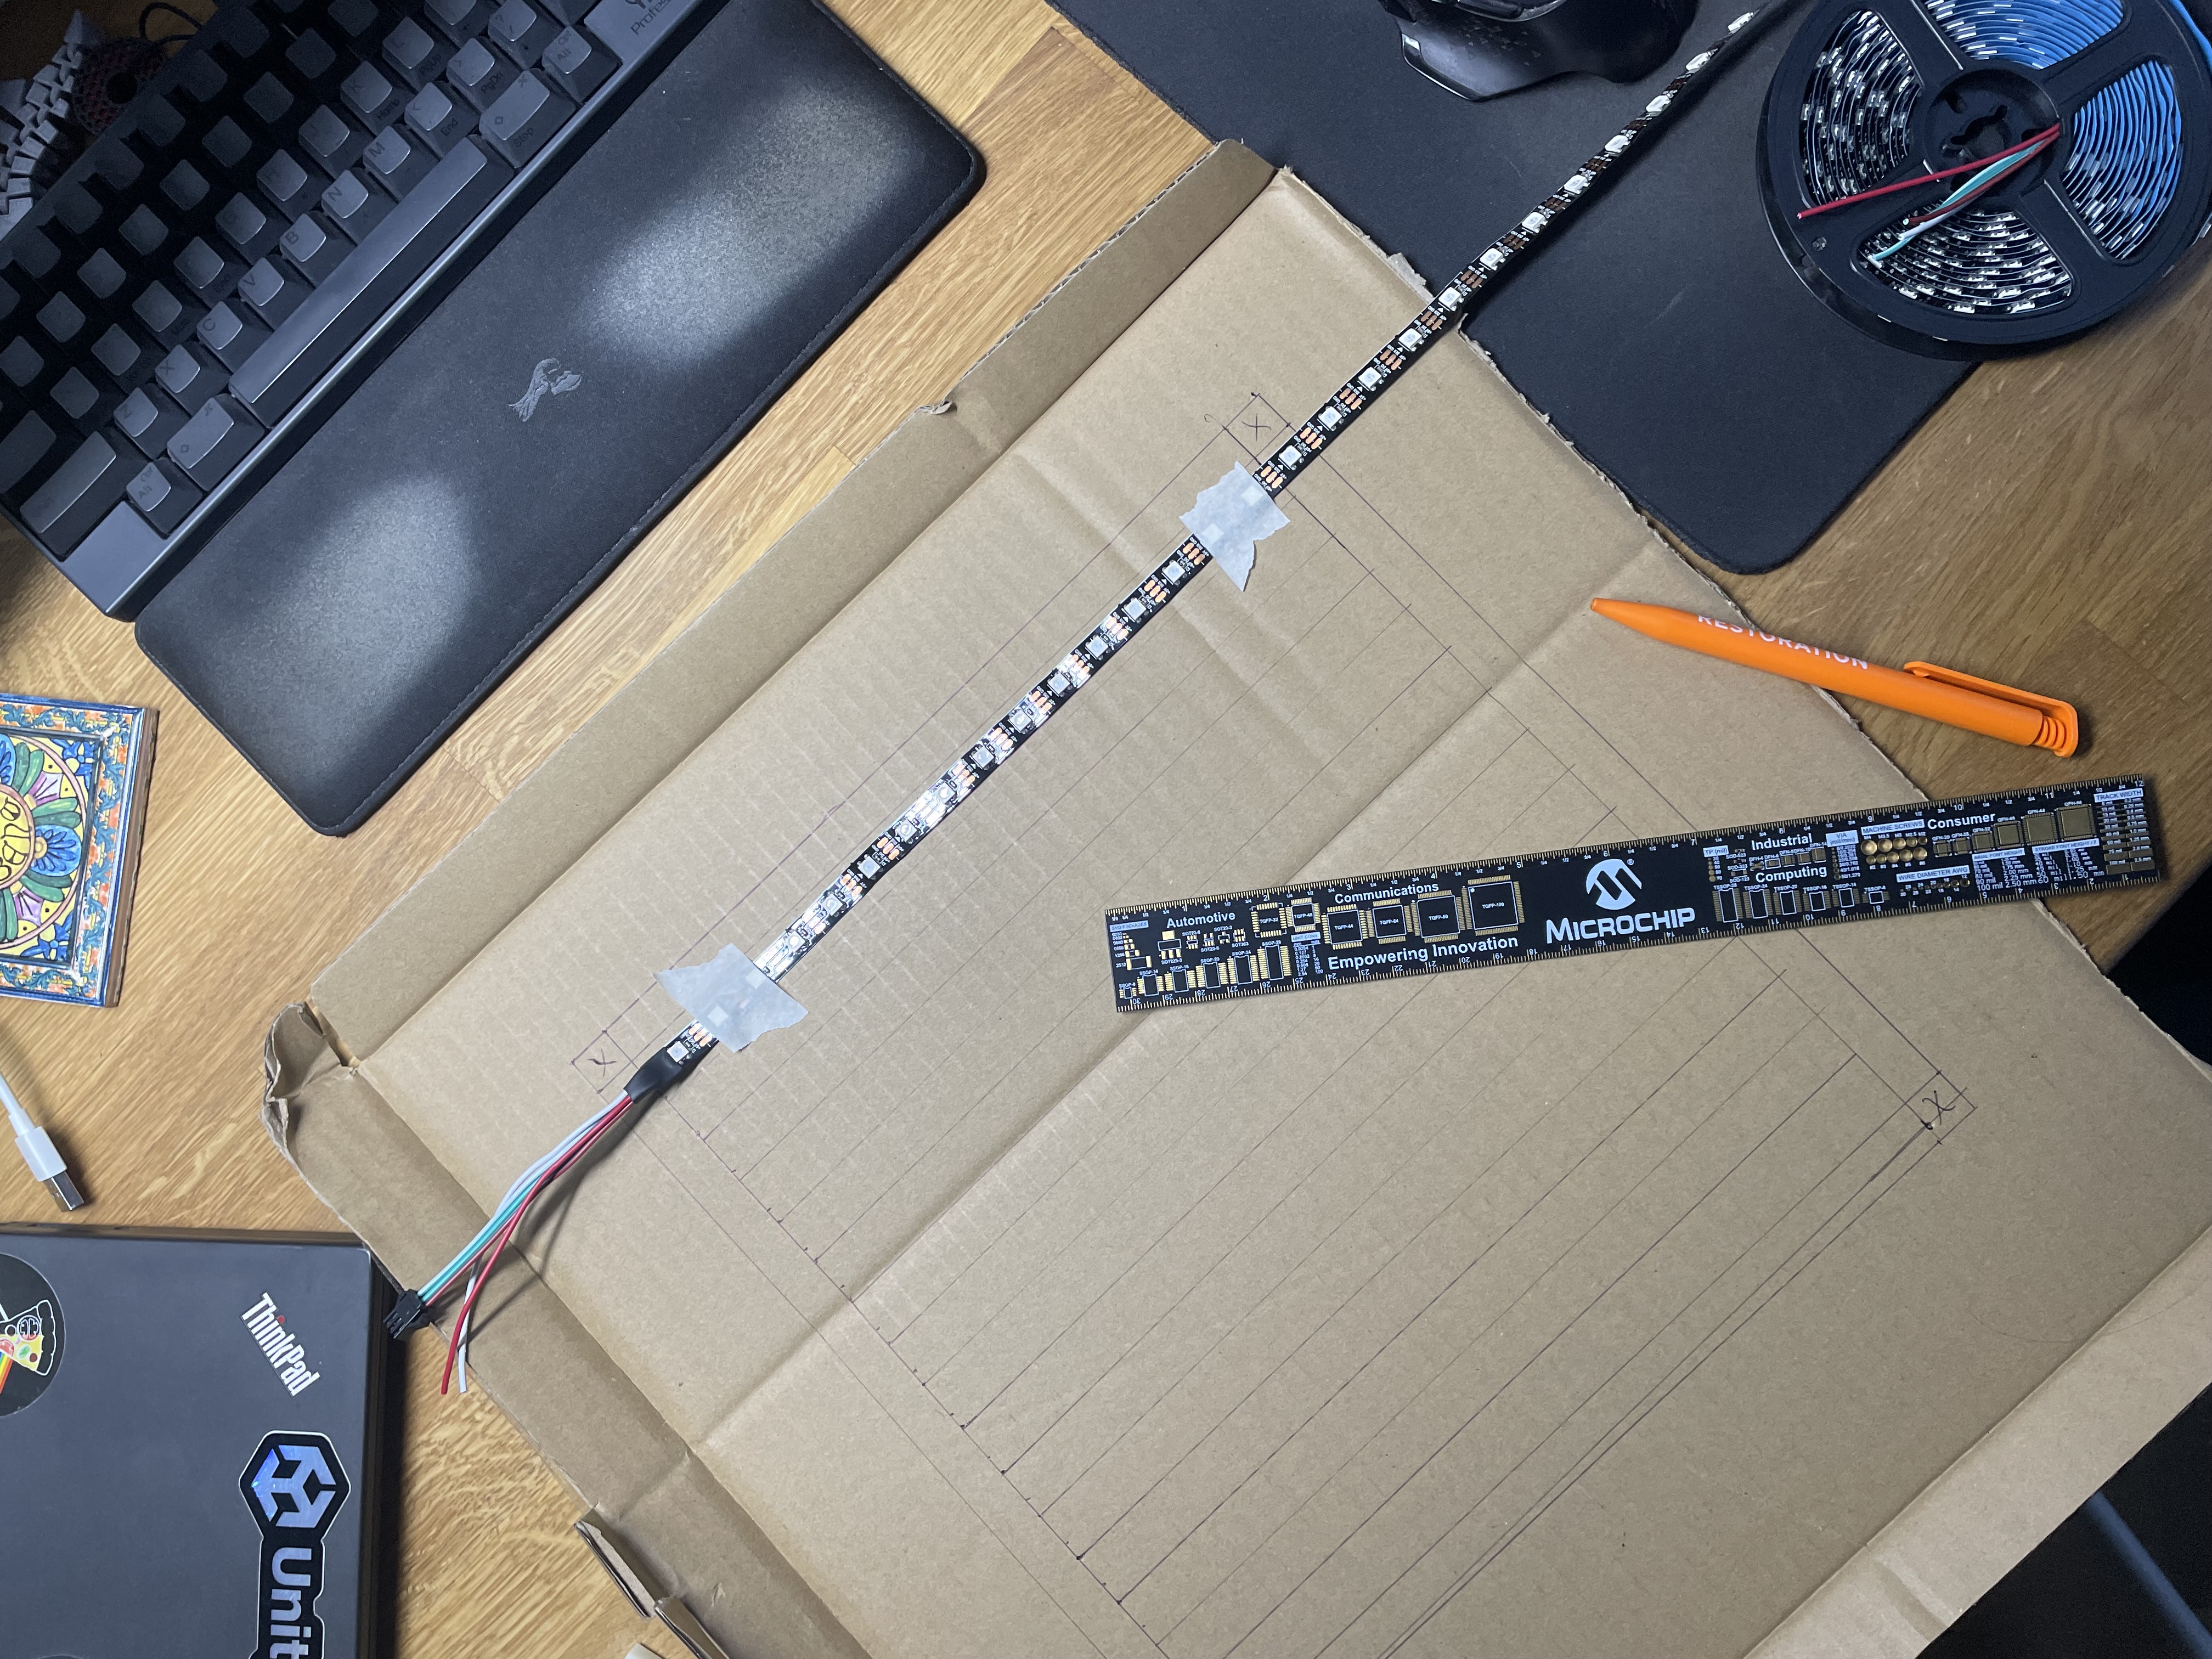
So, how to quickly ascertain that an idea is tangible and can be realized? By rushing to have something very basic ASAP - this means prototyping (there even is an earlier form of it called pretotyping, that validates the idea even earlier!). Following this ideology, my way forward with this project was simple - have something displayed on a basic LED grid ASAP. This usually means doing nasty hackish things, such as copy-pasting code from samples, putting everything into main.c and using cardboard/paper scraps for assembly. And, that’s exactly what I did and am totally not ashamed to showcase in the pictures below 😁.
The exact steps of connecting and powering the LED matrix are coming soon and for now please accept some teasers!
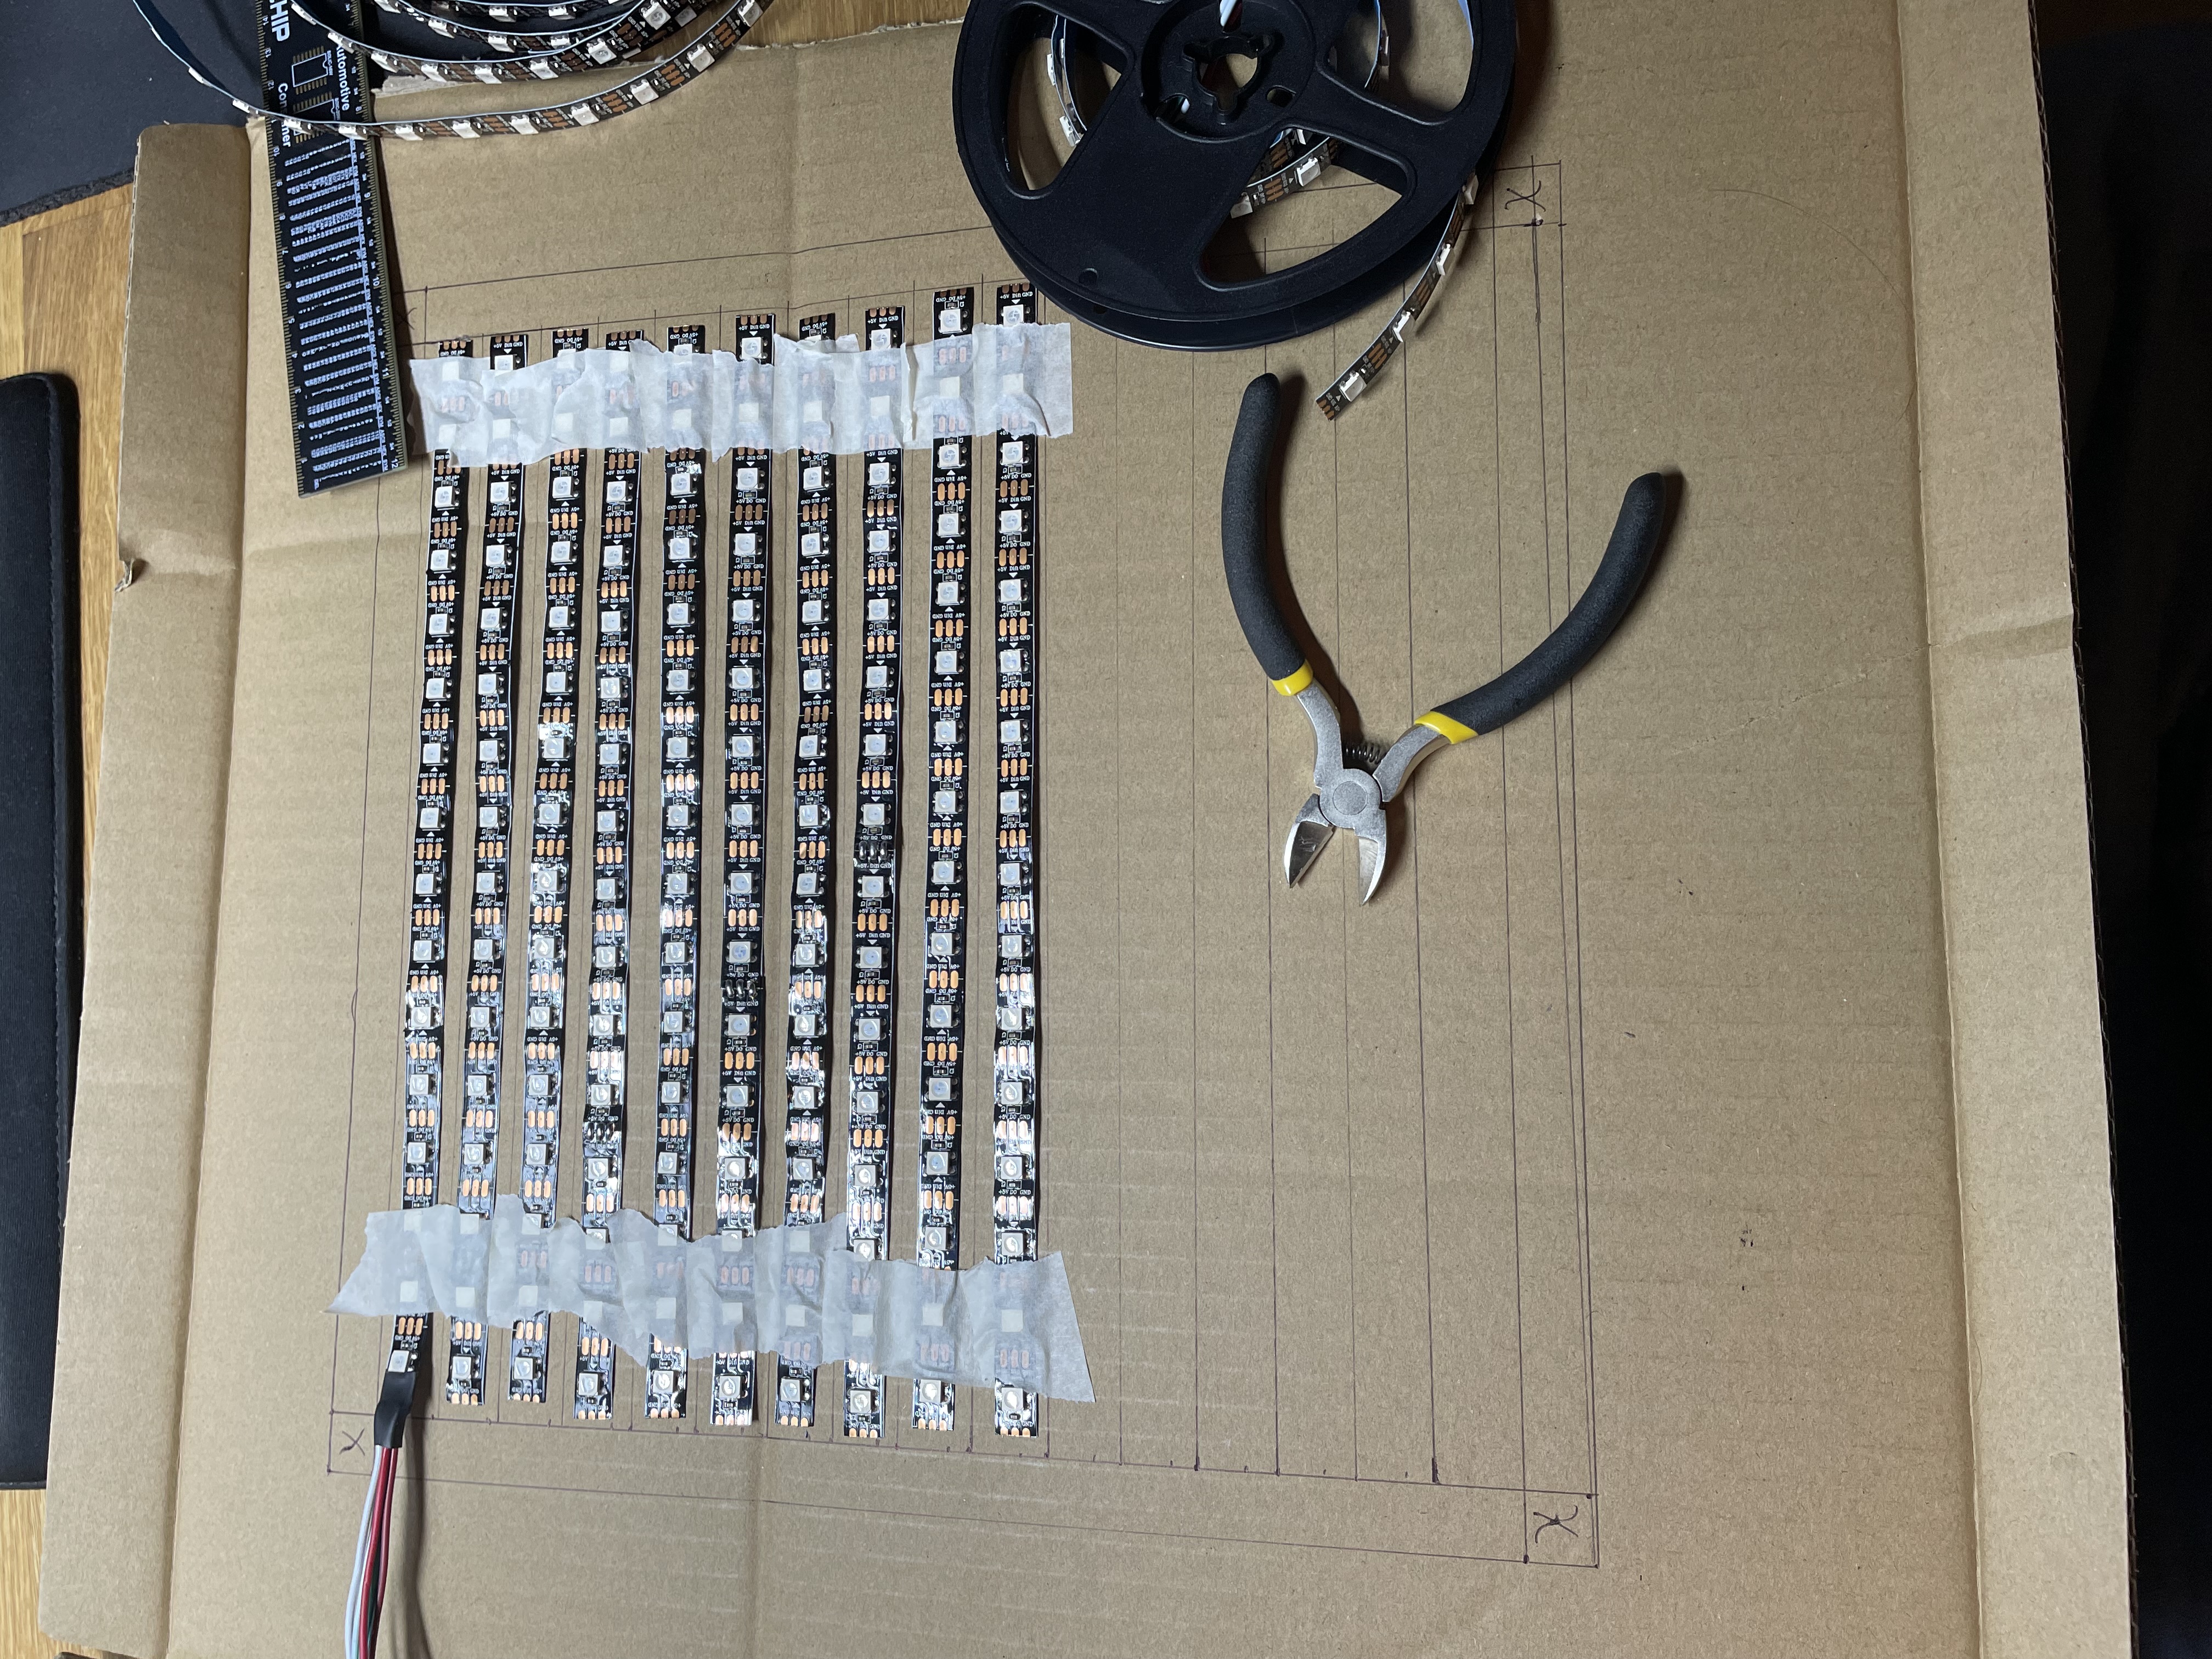
After some more assembly:
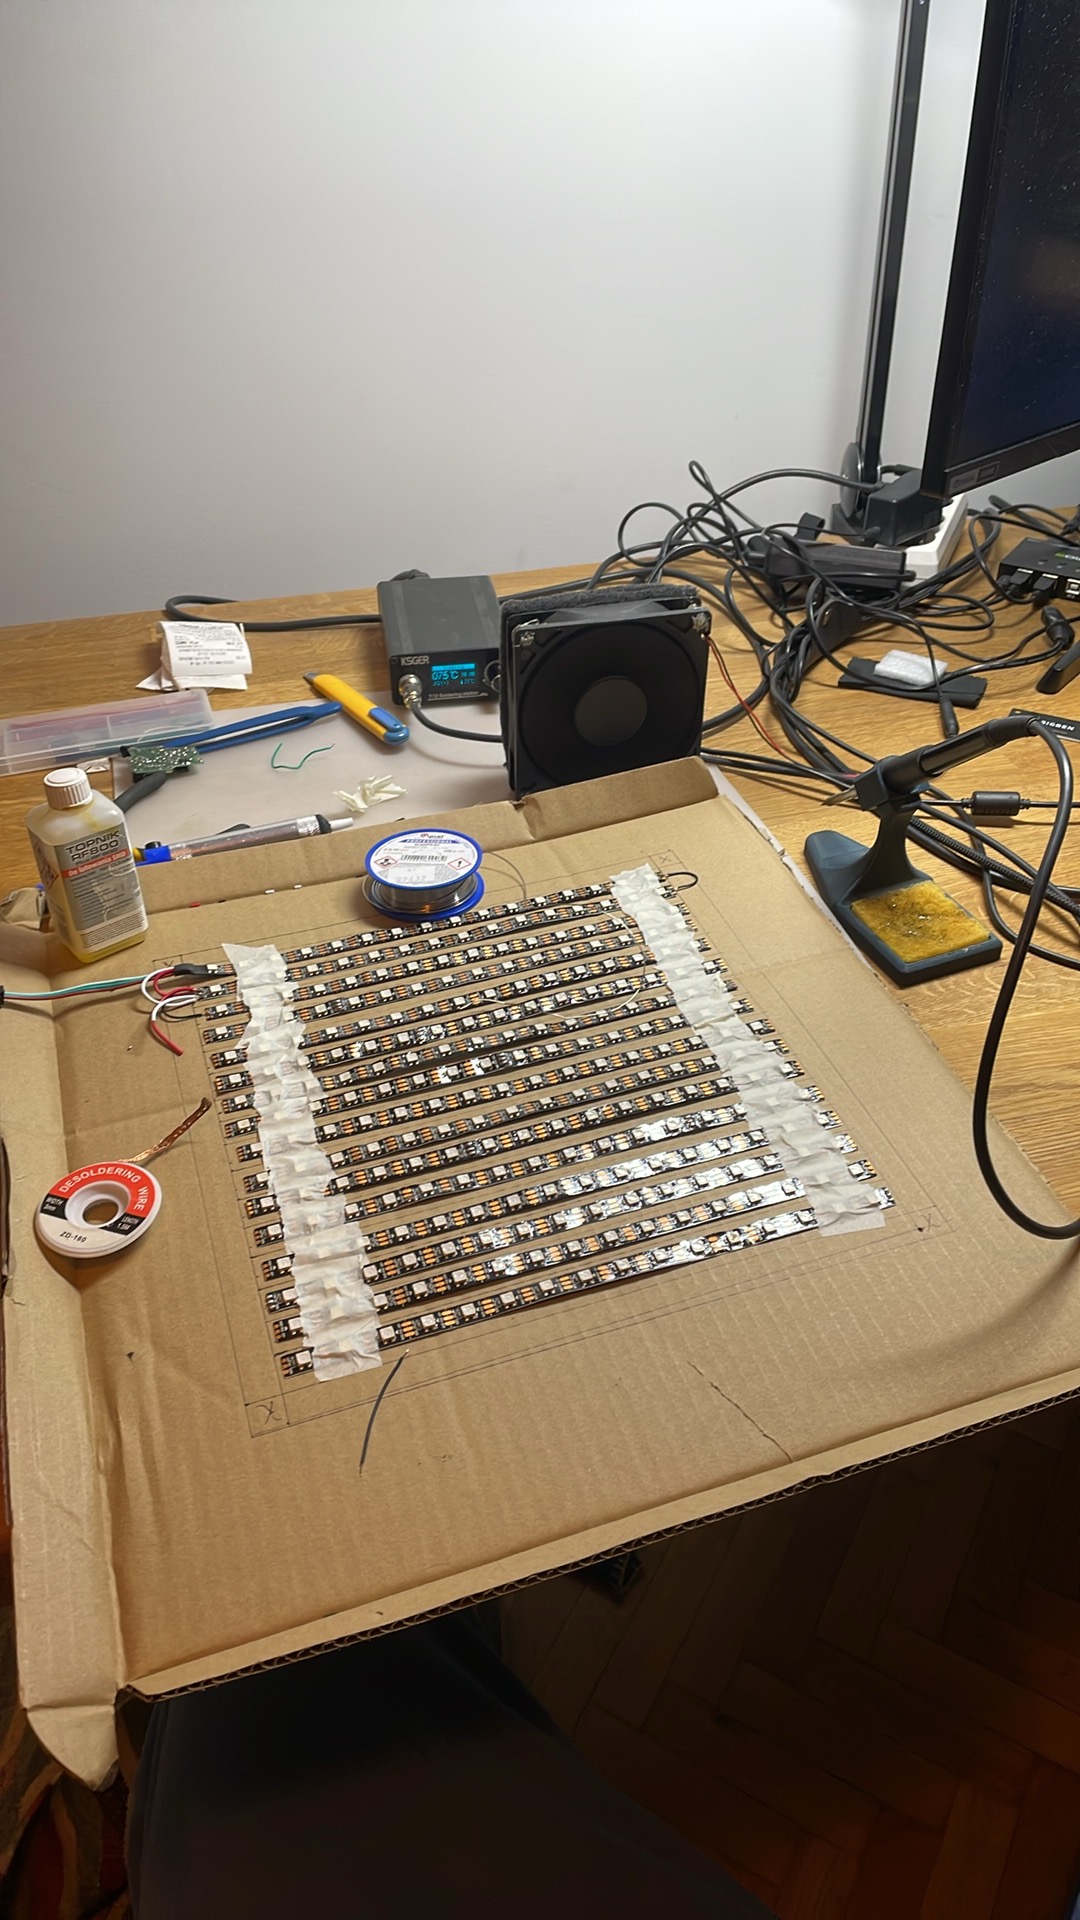
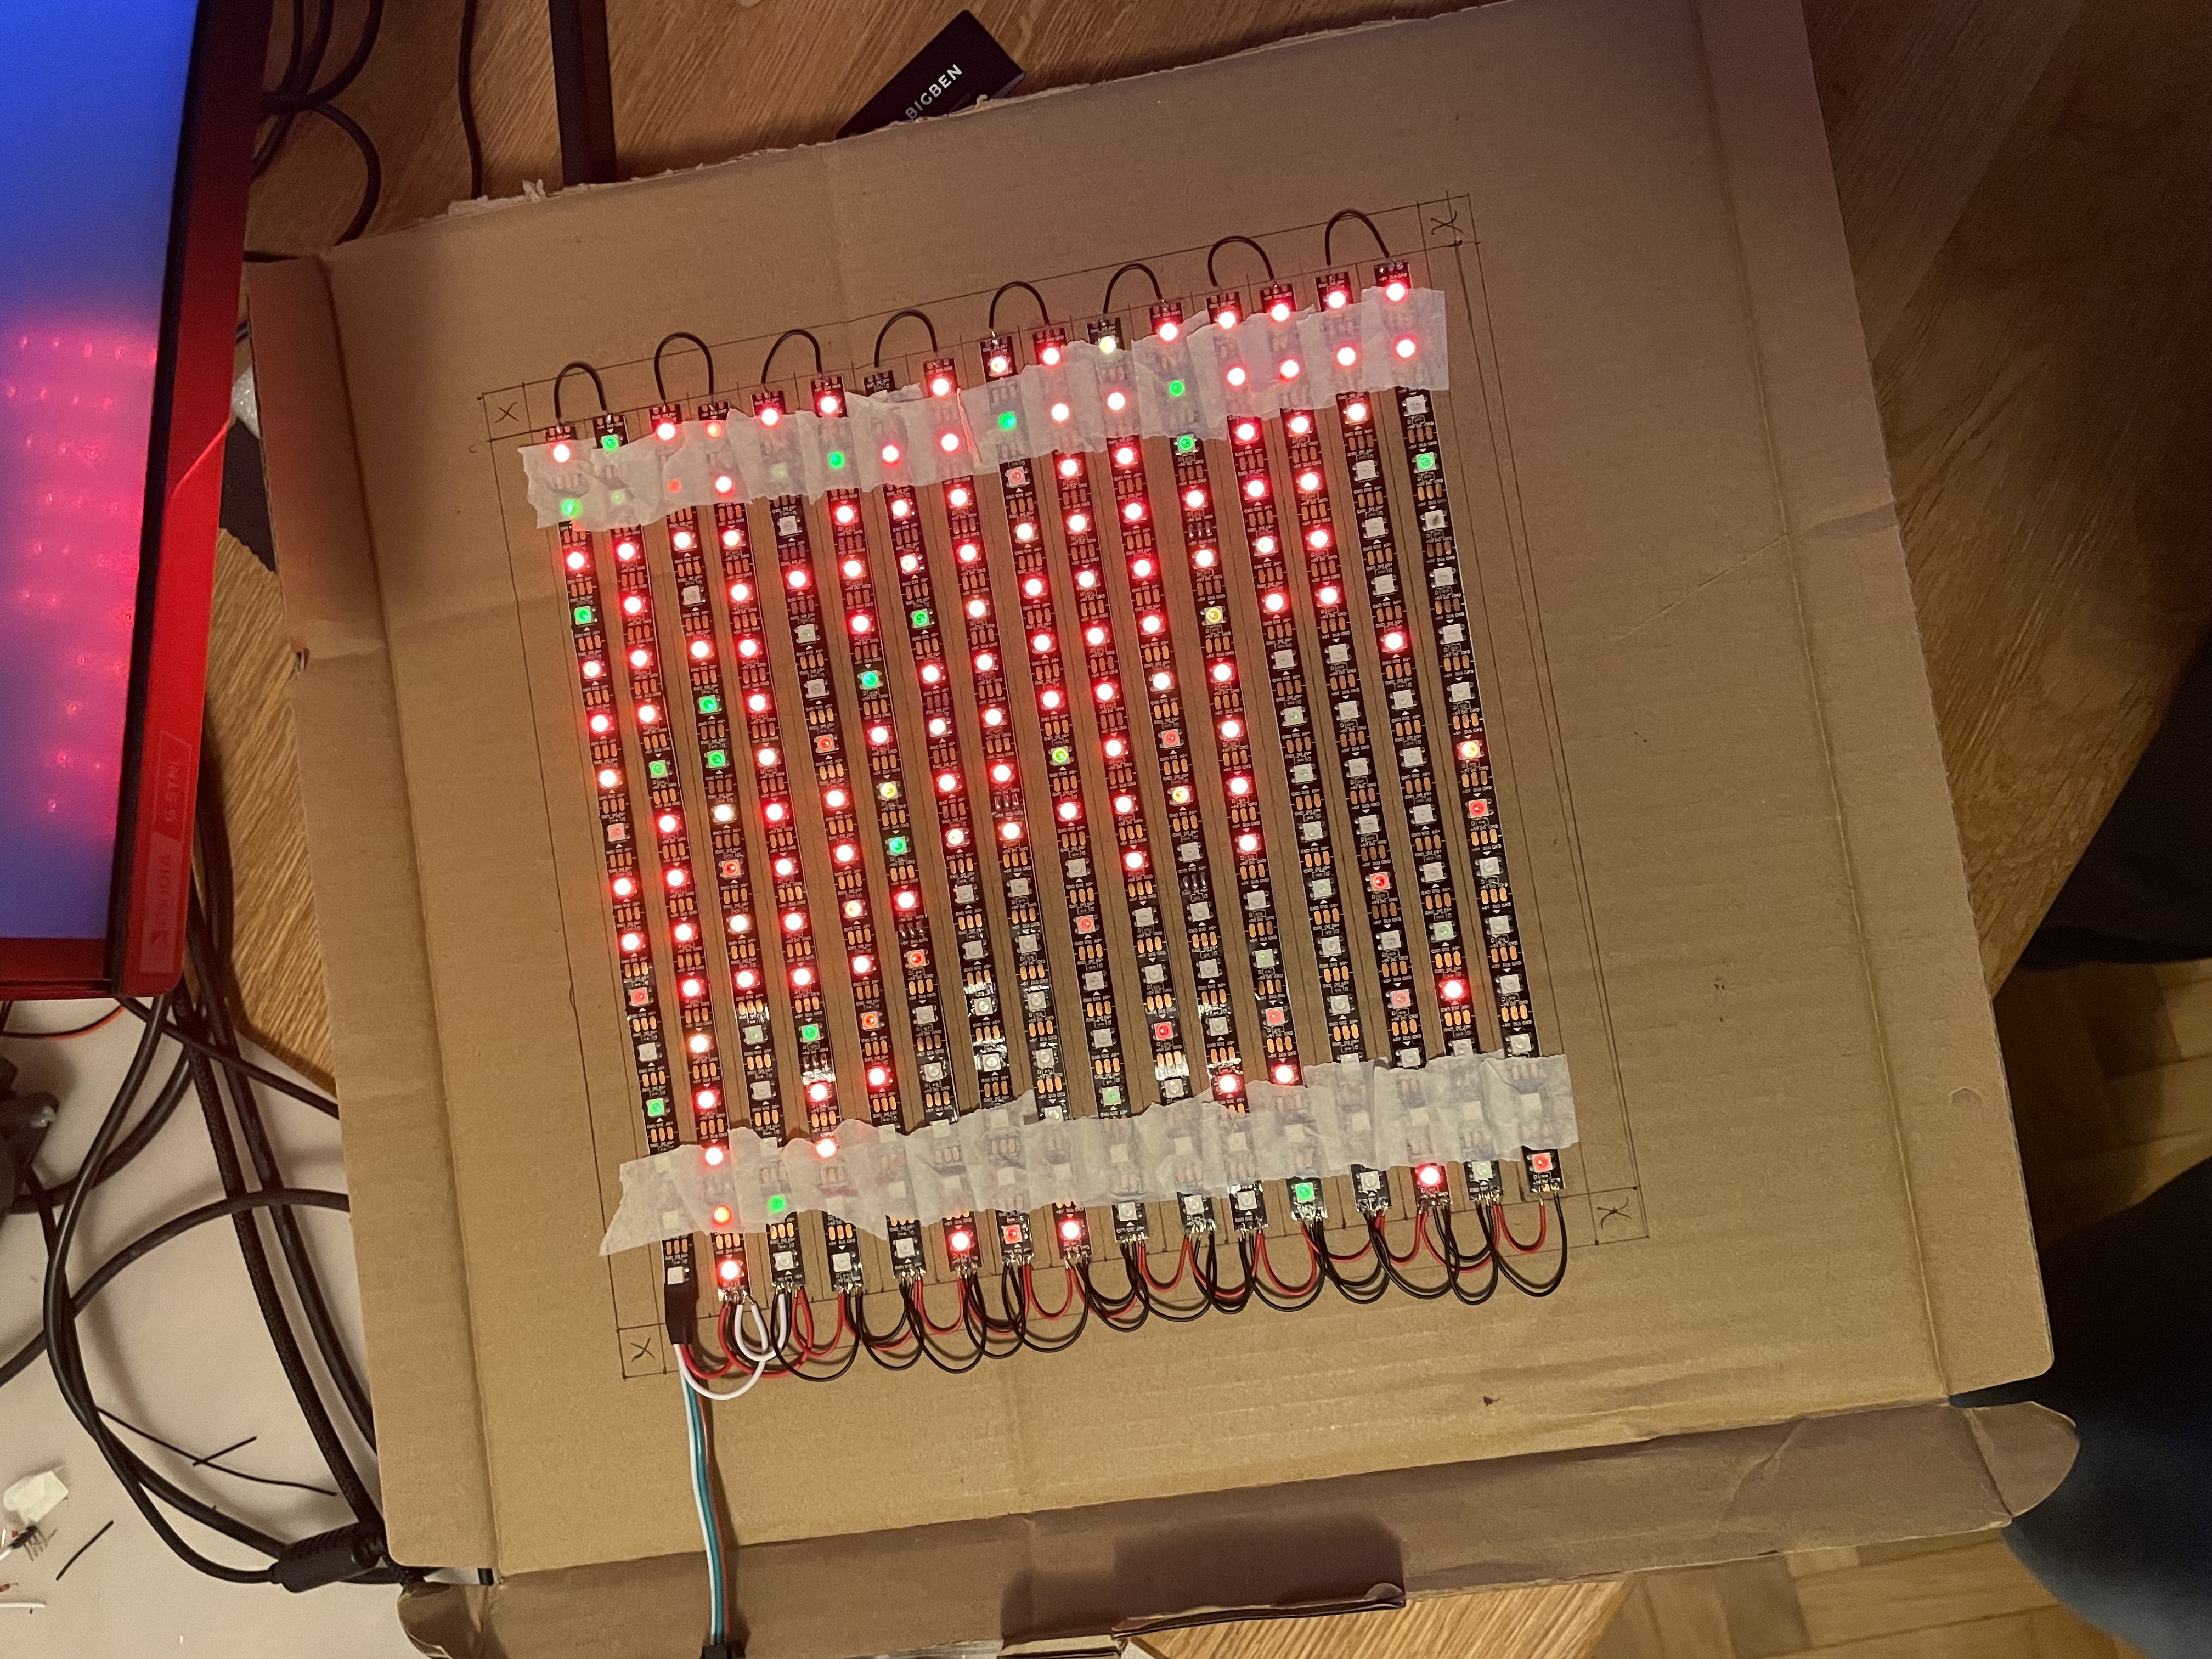
And finally the classic blinky!
ESP32C6
While I promised not to get very technical in this post, I should present my reasoning of choosing ESP32 for this task. Previous year, I attended the RISC-V Summit NA where I obtained a cute ESP32C6 prototype board (thanks Tiffany!) and decided to use it for this project to further my RISC-V knowledge. However, as it turns out, the board is not yet supported in the Zephyr ecosystem, and basing on my previous experience with adding more support for a particular board to Zephyr, I decided to focus on the project first and then invest my time into that (if it were my daily job, then sure why not now). So rest assured, I will go back to this board and give you more updates on that 😄
Summary
As usual, I hope you gained something from this post and maybe will be motivated to follow along or create something amazing of your own! Warm wintry hugs from me, and see you around!
Leaving you with beautiful Austrian Alp view 😁

1222 Words
2024-01-20 12:00 +0000